Our PDF editor is designed to be intuitive and powerful. Whether you're merging documents, converting images, or making precise edits, this guide will walk you through every feature step by step.
Quick Start
Upload Files
Drag & drop or click to select
Edit Documents
Merge, crop, or annotate
Download Result
Choose format and quality
Step 1: Upload Your Files

Supported File Formats
Documents:
- PDF (Portable Document Format)
Images:
- JPG/JPEG (Joint Photographic Experts Group)
- PNG (Portable Network Graphics)
- HEIC (High Efficiency Image Format - iPhone photos)
Method 1: Drag and Drop
- 1. Open your file manager or folder
- 2. Select one or more files (hold Ctrl/Cmd for multiple files)
- 3. Drag them into the upload area on our editor page
- 4. Release to upload - files will appear as thumbnails
Method 2: Click to Select
- 1. Click the "Select Files" or upload button
- 2. Browse to your files in the file picker dialog
- 3. Select one or multiple files (Ctrl/Cmd + click for multiple)
- 4. Click "Open" to upload them
Maximum file size is 100 MB per file. For optimal performance, we recommend working with documents under 100 pages.
Step 2: Edit Your Documents
Once your files are uploaded, you'll see them as thumbnails. Here are all the editing tools available:
Merge Documents
Combine multiple PDF files or images into a single document.
How to merge:
- 1. Upload multiple files (they automatically appear in order)
- 2. Drag thumbnails to reorder pages as needed
- 3. All uploaded files will be merged when you download
Reorder Pages
Change the order of pages by dragging and dropping thumbnails.
How to reorder:
- 1. Click and hold on any page thumbnail
- 2. Drag it to the desired position
- 3. Release to drop it in the new location
- 4. Other pages will automatically adjust
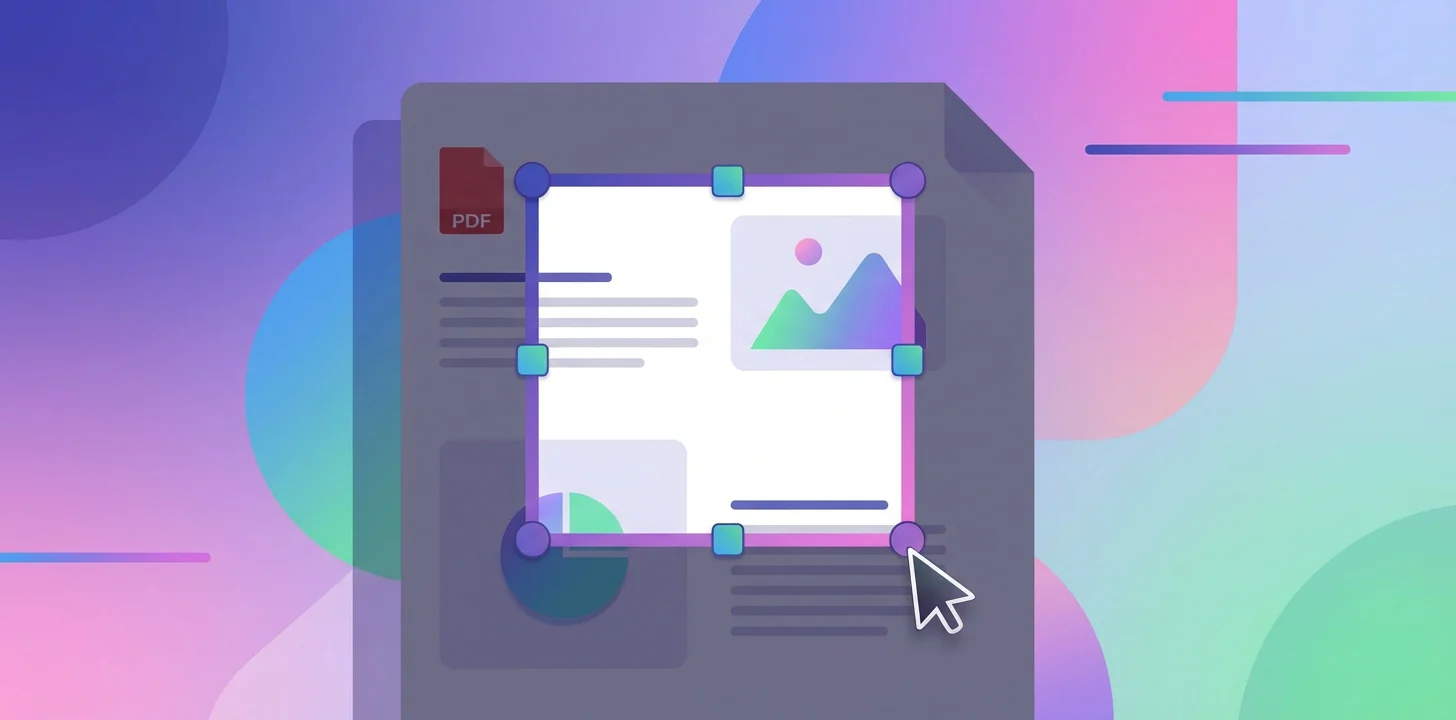
Crop Pages
Trim pages to remove unwanted margins or focus on specific areas.
How to crop:
- 1. Click on a page thumbnail to open the editor
- 2. Click the "Crop" button in the toolbar
- 3. Drag the crop handles to select the area you want to keep
- 4. Click "Apply" to confirm the crop
- 5. The page will be trimmed to your selection
Rotate Pages
Fix orientation issues by rotating pages 90, 180, or 270 degrees.
How to rotate:
- 1. Right-click on a page thumbnail
- 2. Select "Rotate" from the context menu
- 3. Choose rotation angle (90°, 180°, 270°)
- 4. Page orientation updates immediately
Delete Pages
Remove unwanted pages from your documents.
How to delete:
- 1. Hover over the page thumbnail you want to remove
- 2. Click the delete/trash icon that appears
- 3. Confirm deletion if prompted
- 4. Page is immediately removed from the document
Add Annotations
Draw arrows, add shapes, highlight areas, and insert text.
How to annotate:
- 1. Click on a page to open the editor
- 2. Select annotation tool from the toolbar (arrow, rectangle, text, etc.)
- 3. Draw or place annotations on the page
- 4. Adjust colors, sizes, and styles as needed
- 5. Click "Save" to apply changes
Convert Images to PDF
Upload JPG, PNG, or HEIC images and combine them into a PDF document.
How to convert:
- 1. Upload one or more image files (JPG, PNG, HEIC)
- 2. Images appear as pages in the editor
- 3. Arrange them in desired order
- 4. Download as PDF to create a multi-page document
Step 3: Download Your Result
Once you've finished editing, click the "Download" button to save your work. You have several options:
Output Format Options
PDF (Recommended)
Preserves all pages, annotations, and formatting in a single file
JPG (Image Format)
Converts each page to a separate JPG image, downloaded as a ZIP archive
Quality Settings
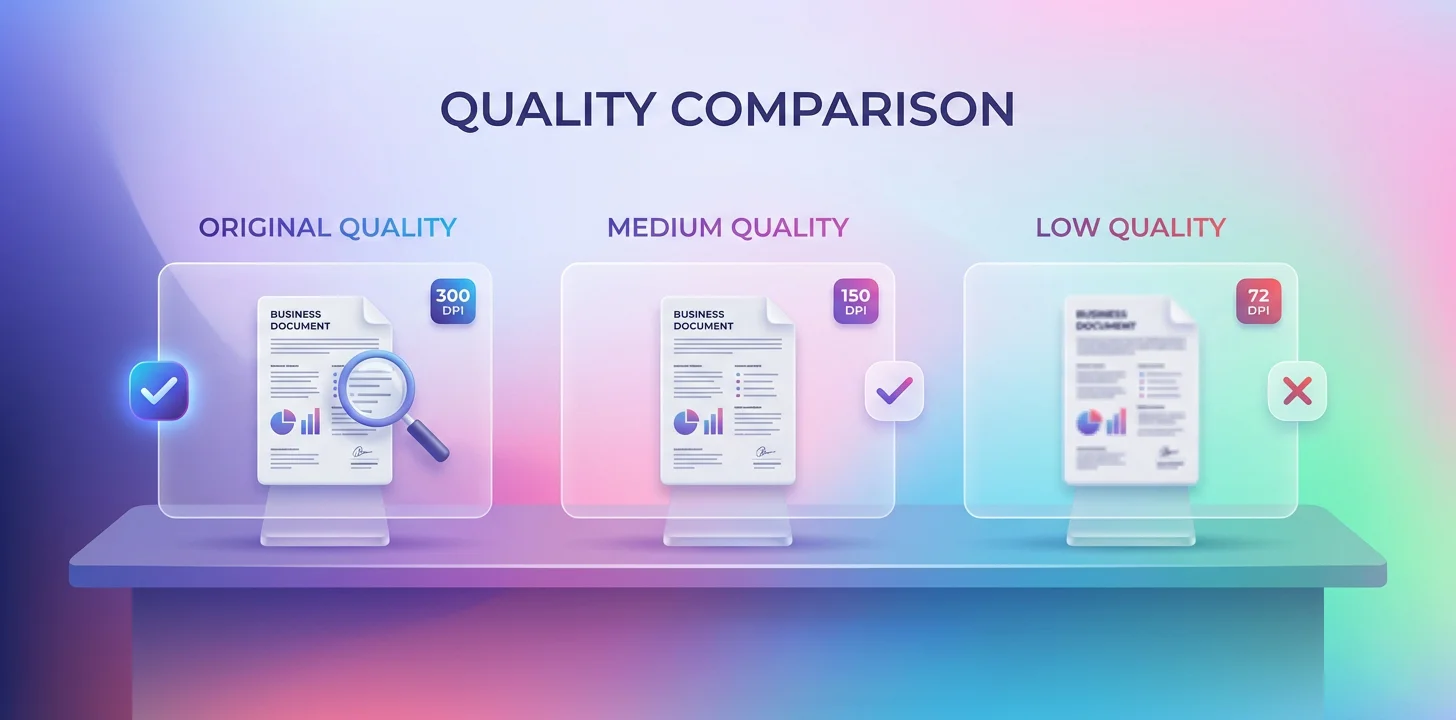
Original Quality (Recommended)
Preserves vector graphics, fonts, and original resolution. Smallest file size for PDF.
High Quality
Converts to images at 300 DPI. Good balance of quality and file size.
Medium Quality
150 DPI for smaller file sizes. Suitable for screen viewing.
Tips and Best Practices
Work Offline for Sensitive Documents
Load the page, disconnect from the internet, then upload your documents. All processing happens locally in your browser.
Use Original Quality for Documents with Text
If your PDF contains text, charts, or diagrams, choose "Original Quality" to keep them sharp and searchable.
Batch Process iPhone Photos
Upload multiple HEIC files at once, then download them as a ZIP of JPG images. Perfect for sharing iPhone photos with non-Apple users.
Save Frequently Used Documents
Your browser doesn't store anything, so save your work frequently by downloading intermediate versions.
Compress Large PDFs
If file size is a concern, choose medium quality when downloading. This converts pages to compressed images.
Keep Under 100 Pages for Performance
While the editor can handle larger documents, optimal performance is achieved with files under 100 pages.
Common Issues and Solutions
File Won't Upload
Check that the file is under 100 MB and in a supported format (PDF, JPG, PNG, HEIC). Try refreshing the page and uploading again.
Editor is Slow
Large files with many pages can be slow. Consider splitting the document into smaller parts, or try using a more powerful device.
Download Not Starting
Check your browser's download settings and ensure pop-ups are not blocked. Some browsers require permission for downloads.
Text Appears Blurry After Export
Use "Original Quality" option when downloading PDF to preserve vector text. Lower quality settings convert everything to images.
Ready to Start Editing?
Try our free PDF editor now - no registration or installation required.
Launch PDF Editor